Introduction to DIY Car Detailing
Mobile detailing has made professional-grade car care more accessible than ever, but there are times when you might want to roll up your sleeves and take care of your vehicle yourself. Whether it's to save money, enjoy a sunny weekend, or simply take pride in a job well done, DIY car detailing can be a rewarding experience. In this guide, we'll walk you through beginner-friendly steps to detail your car at home, right here in Davenport, FL, in 2026.
Why Consider DIY Detailing?
While professional services like Better 2gether Mobile Detailing offer convenience and expertise, there are several reasons to consider DIY detailing:
- Cost-Effective: Save money by using readily available products and tools.
- Convenience: Detail your car at your own pace and on your schedule.
- Satisfaction: Achieve a sense of accomplishment from maintaining your vehicle.
Essential Tools and Products for Home Detailing
Before you start, gather the necessary tools and products. Here's a basic list to get you started:
- Microfiber Cloths: Essential for cleaning and drying without scratching surfaces.
- Car Wash Soap: A gentle formula designed specifically for vehicles.
- Buckets: Use two buckets – one for soapy water and one for rinsing.
- Wheel Cleaner: A product specifically formulated to tackle brake dust and grime.
- Wax or Sealant: Protect your car's paint and enhance its shine.
- Vacuum Cleaner: For interior detailing, a vacuum with attachments is crucial.
- Glass Cleaner: Ensure a streak-free finish on windows and mirrors.
Step-by-Step Car Detailing Process
Step 1: Exterior Washing
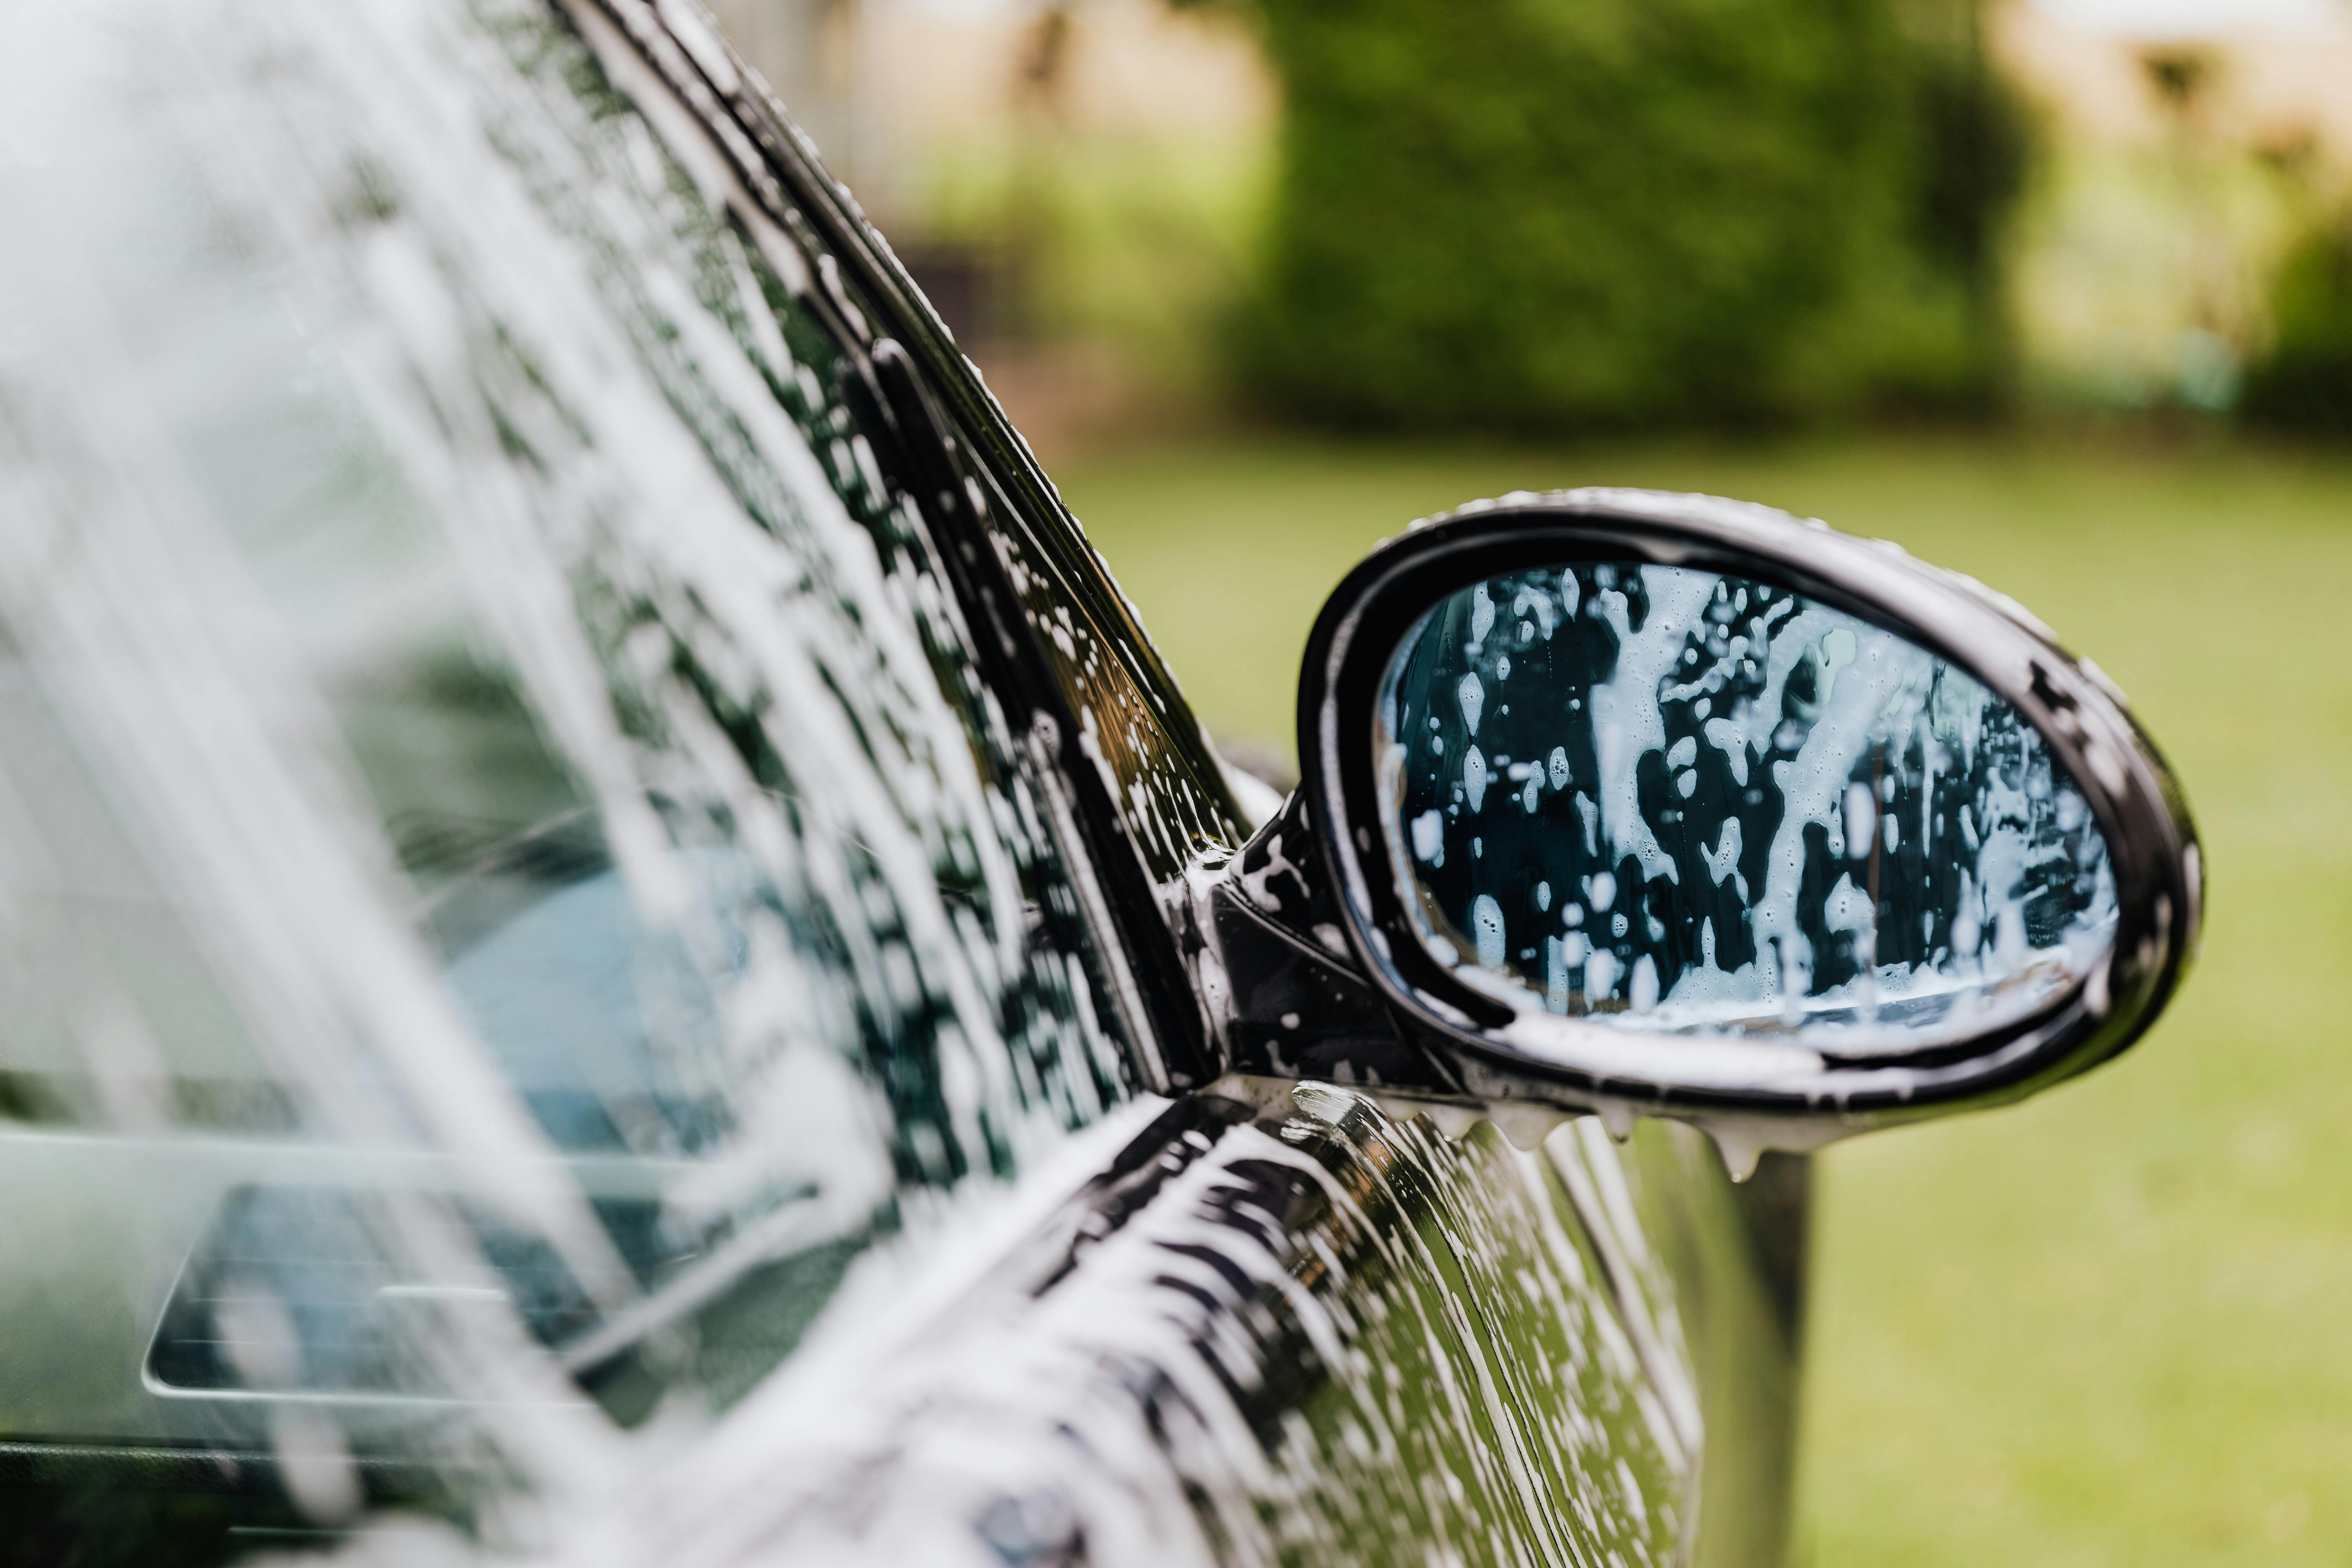
Begin by rinsing your car with water to remove loose dirt and debris. Use a microfiber mitt and a bucket of car wash soap to clean the exterior, working from top to bottom. Rinse thoroughly to avoid soap residue.
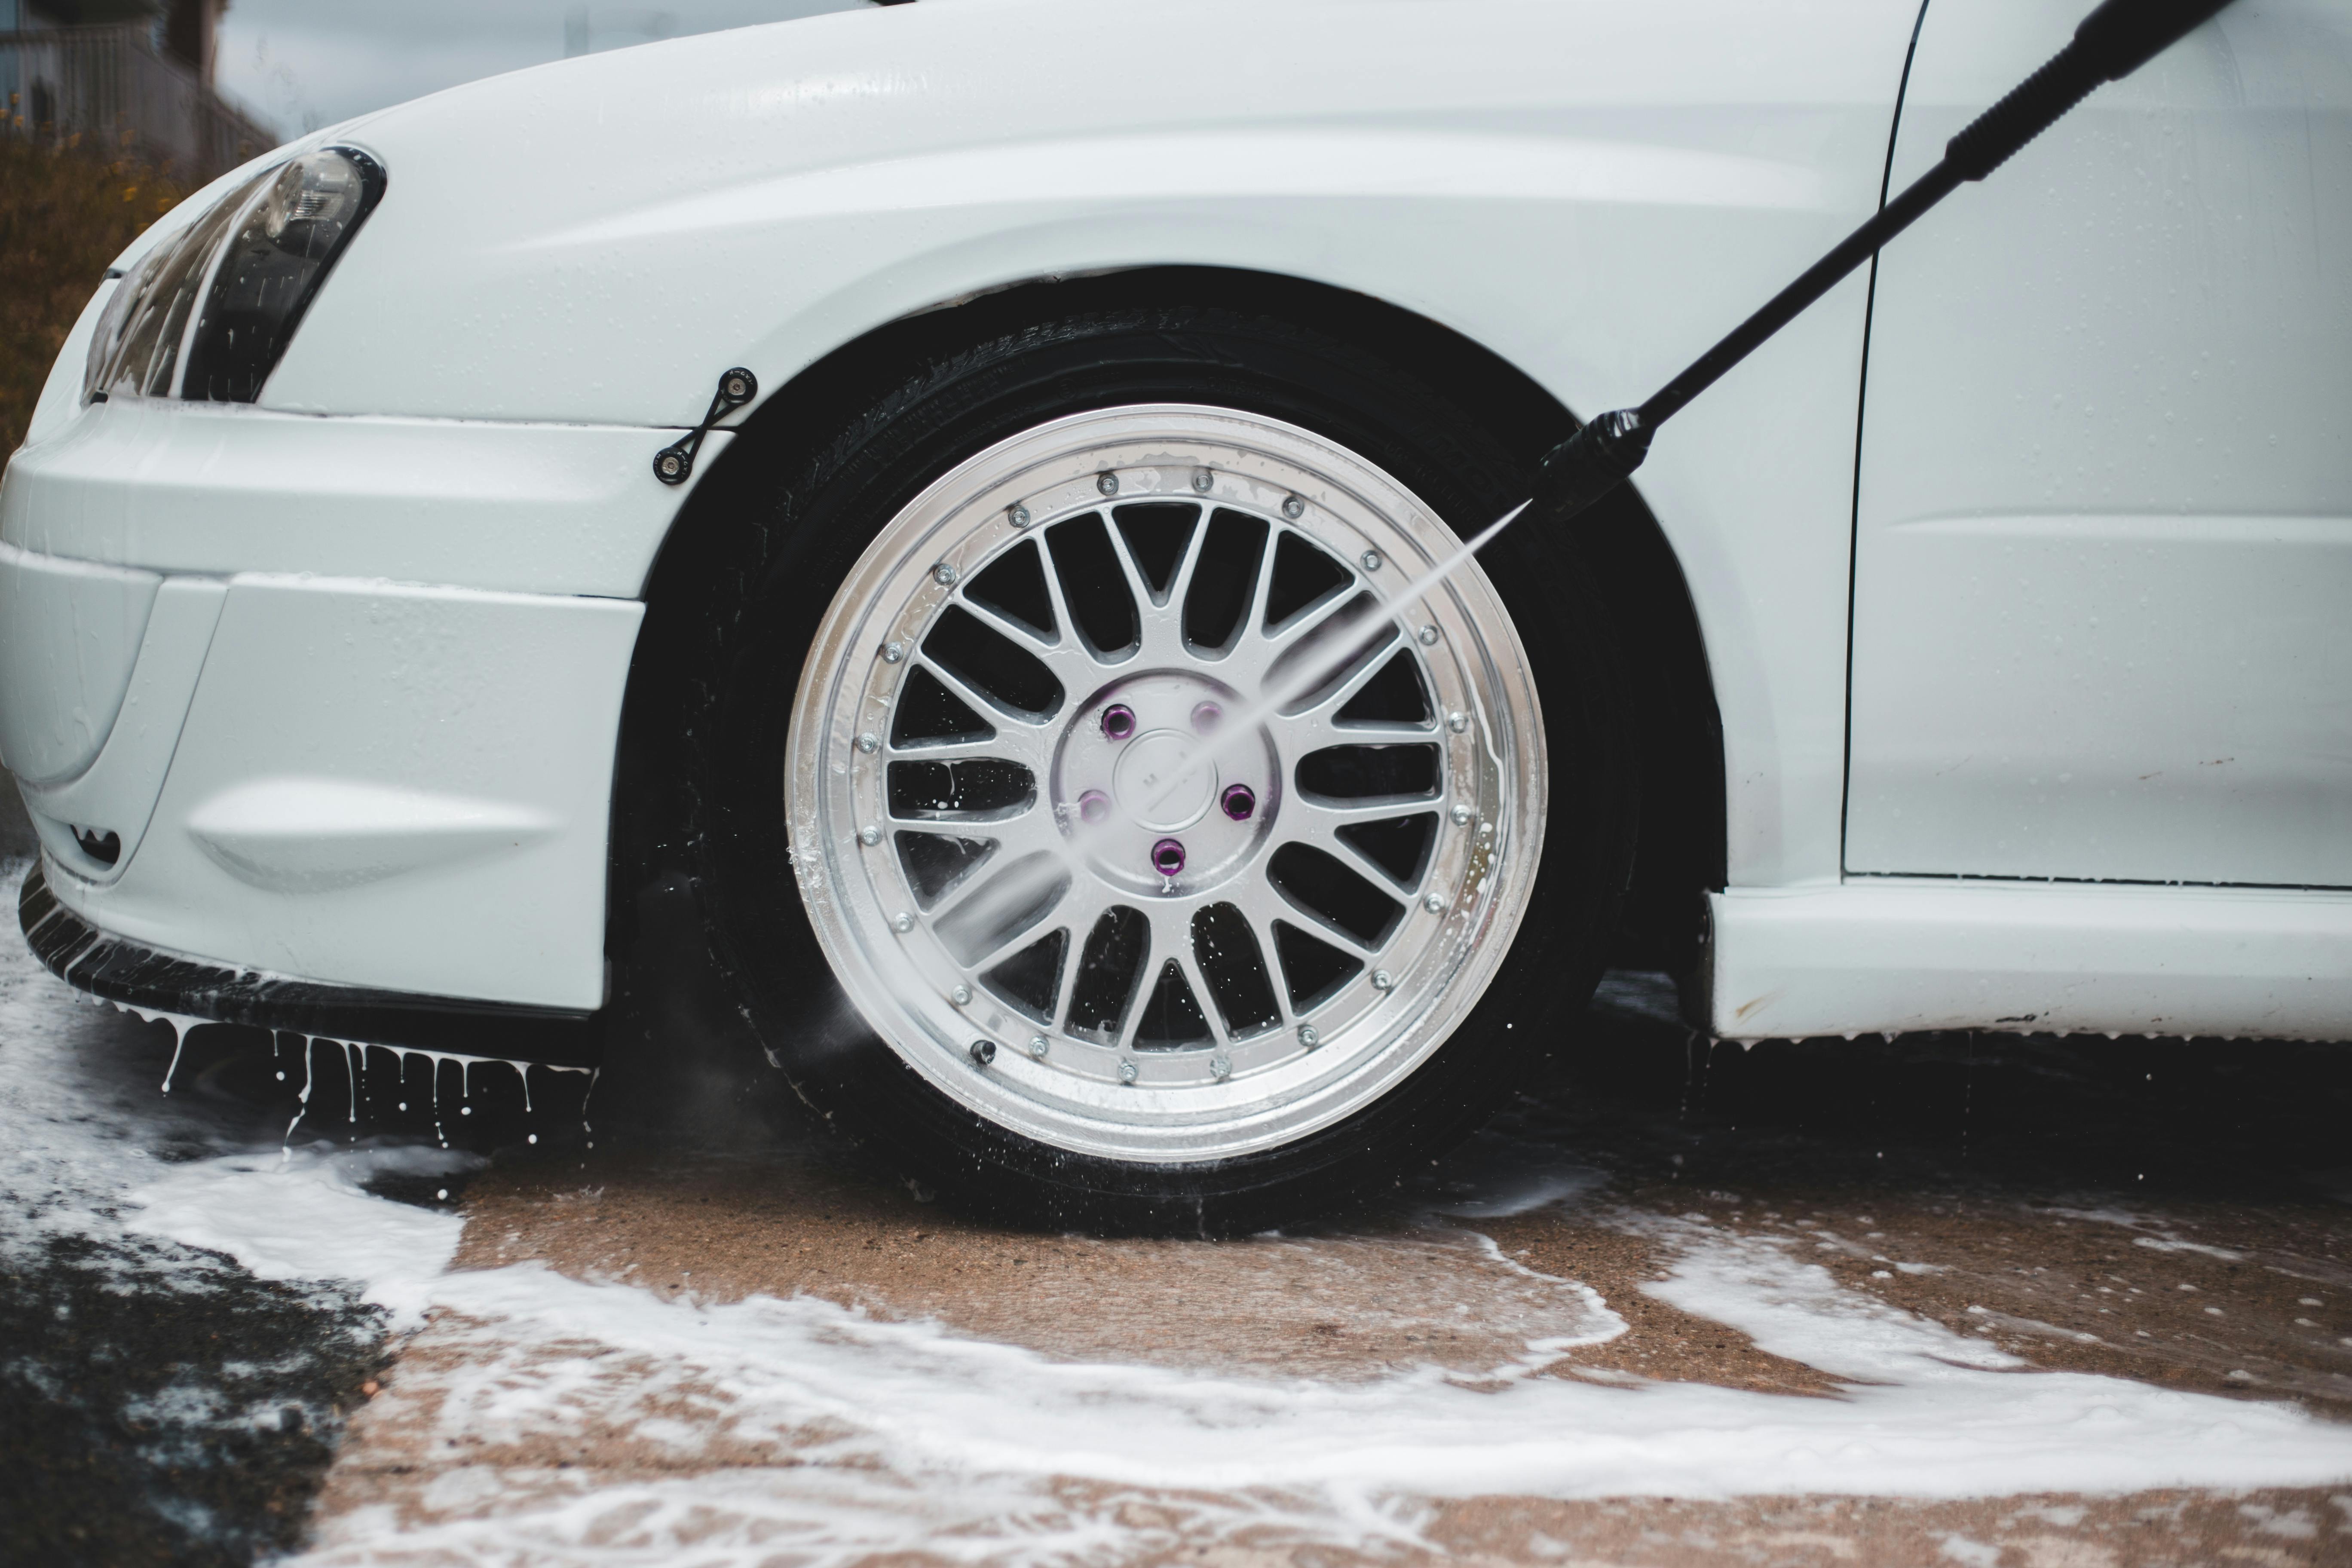
Step 2: Wheel Cleaning
Spray wheel cleaner on your car's wheels and let it sit for a few minutes. Use a brush to scrub away dirt and grime, then rinse thoroughly. This step is crucial as wheels accumulate significant brake dust.
Step 3: Drying
Use a clean microfiber towel to dry the car, starting from the top and working your way down. This prevents water spots and ensures a streak-free finish.
Step 4: Waxing
Apply a thin layer of wax or sealant to protect your car's paint. Follow the manufacturer's instructions for the best results. This step not only protects but also adds a glossy finish to your vehicle.
Step 5: Interior Cleaning
Use a vacuum to clean the car's interior, including seats, carpets, and mats. Wipe down surfaces with a damp microfiber cloth. Pay attention to the dashboard, console, and door panels.
Step 6: Glass Cleaning
Spray glass cleaner on windows and mirrors, then wipe with a microfiber cloth. Ensure a streak-free finish by using a circular motion.
Tips for Detailing Success
- Work in the Shade: Direct sunlight can cause water and soap to dry too quickly, leading to spots.
- Use Two Buckets: One for soapy water and one for rinsing your mitt to prevent dirt from scratching the paint.
- Be Gentle: Avoid using abrasive materials that could scratch your car's surfaces.
When to Call a Professional
While DIY detailing is satisfying, some situations call for professional help. If you're dealing with intricate detailing needs, tough stains, or lack the time, Better 2gether Mobile Detailing in Davenport, FL, offers expert services that ensure your car looks its best.
Conclusion
Detailing your car at home can be a fulfilling and cost-effective way to maintain your vehicle. With the right tools and a little patience, you can achieve professional-looking results. Whether you choose to DIY or seek professional help, keeping your car clean and well-maintained boosts its longevity and value.
For residents in Davenport, FL, Better 2gether Mobile Detailing stands ready to assist with all your professional detailing needs, offering convenience and expertise in every service.